Contents
Using pond liner is the easiest way to build a pond. It is also the cheapest way. The pond liner is a thick sheet of plastic that you spread across the bottom and sides of your pond to keep the water in. You do not have to worry to dig a hole in a certain shape (as you do with molded plastic ponds) Instead you can dig a hole and simply add the plastic to the bottom when you are happy with how it looks.
This type of ponds are the most common garden ponds and the type I recommend to most people who want to build their first pond. It is a very good solution if you want to build a small simple pond. Let’s look at some of the benefits and drawbacks of this type of ponds.
Benefits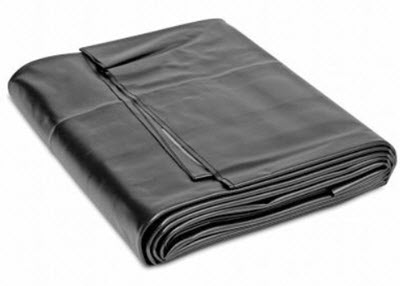
- Very easy to build
- Cheap
- Does not require any extra skill
- Require little planning
- Good beginner pond
Drawbacks
- Will usually last less than 10 years.
- Can be pierced by roots.
- Limits the type of pond you can build to the stability of the dirt in your garden.
- Best suited for small ponds but there are liners that can be used for larger ponds.
Choosing a spot for your pond
The first thing you should do if you want to build a pond using a pond liner is to decide where to build it. You can read more about what to think about before you build a pond here. Ponds built with a plastic liner are not suitable to build near your house.
Buy your pond liner
I recommend that you by the pond liner before you dig your pond. The dimensions of the pond liner you buy will limit the size of the pond. You do not want any seams in the ponds. Seams often start to leak. You should make sure that the bottom and sides of your entire pond can be covered by the pond liner. If you dig your hole before you buy your pond liner you might find that you are unable to find a liner that is large enough for it to cover the entire pond. If that happens you will need to try to order a pond liner online or refill part of the hole. It is never fun to refill a part of your pond before it has been built.
Mark out your pond
Once you have bought your pond liner you should mark out the outline of your pond using anything you have at hand. I prefer to buy a can of spray paint and paint the outline on the ground but you can also use rocks, pieces of wood or anything else you have handy. Remember that the pond liner needs to cover both the bottom and the side of the pond. This means that the outline of the pond needs to be smaller than the size of the pond liner. How much smaller depends on how deep your pond will be and on whether you will use staired or sloping edges. I recommend that you make all the necessary calculations on a piece of paper so that you are sure that you got the right outline before you start digging.
Digging the pond
Digging a pond that is going to use a pond liner is very easy. You do not need to worry about matching any exact design. You can dig the hole however you want to as long as you stay within the dimension of the pond liner. You can make the bottom flat, sloping, uneven or however you want it to look. It is easy to dig a small pond by hand. A larger pond will usually require a digger. It can be done manually as well but it will take a long time and rain might cause the hole to collapse during this time. I recommend that you dig a small pond by hand and rent a digger if you want to dig a large pond. A large pond is a pond larger than 300 sq feet. Digging the pond yourself will give you a great sense of accomplishment when you are done and will make you appreciate the pond more.
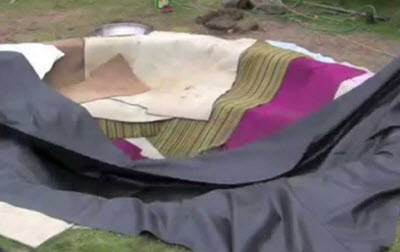
Once you have the hole finished you need to look and make sure that there are no sharp rocks in the hole. Sharp rocks can cause holes in the lining. I generally recommend placing about 1 inch of sand on the bottom of the hole before putting the liner in the hole. This helps protect the liner. I also recommend that you use a protective weave (sold where you bought the liner) below the pond liner to protect it. This weave helps protect if any sharp object or root starts pressing against the liner and reduce the risk of a leak. The protective weave is cheap to buy and more than worth its price. Once the weave is in place you can put down the liner. You might have to fold it in some places for it to match the shape you want. Make sure that you have 4 inches of liner on the ground around the hole. This extra liner will help to keep it in the right spot.
It is now time to fill the pond. Filling it with water will put pressure on the liner and get it to assume its correct position. The pressure might drag down the liner so that you lose some of the extra liner you had on the ground above the hole. This is another reason why you want to have a little extra left before you fill it with water. Your pond is now finished. All the remains are the finishing touches.
Finishing touches
When you have the pond filled with water I recommend you let it sit overnight ( or longer) before you start doing the finishing touches.
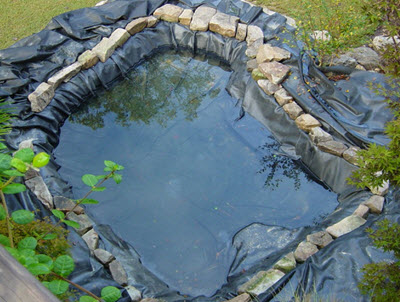
The first finishing touch to do is to place rocks or pieces of wood over the extra lining. Anything with a little weight that keeps it in place will do. When that is done you are ready to plant the ponds and the surrounding area. You are also ready to put the pond pump into the pond and turn it on
Do not add any fish to the pond at this stage. The ponds need to have been running for at least a couple of weeks before you add any fish.